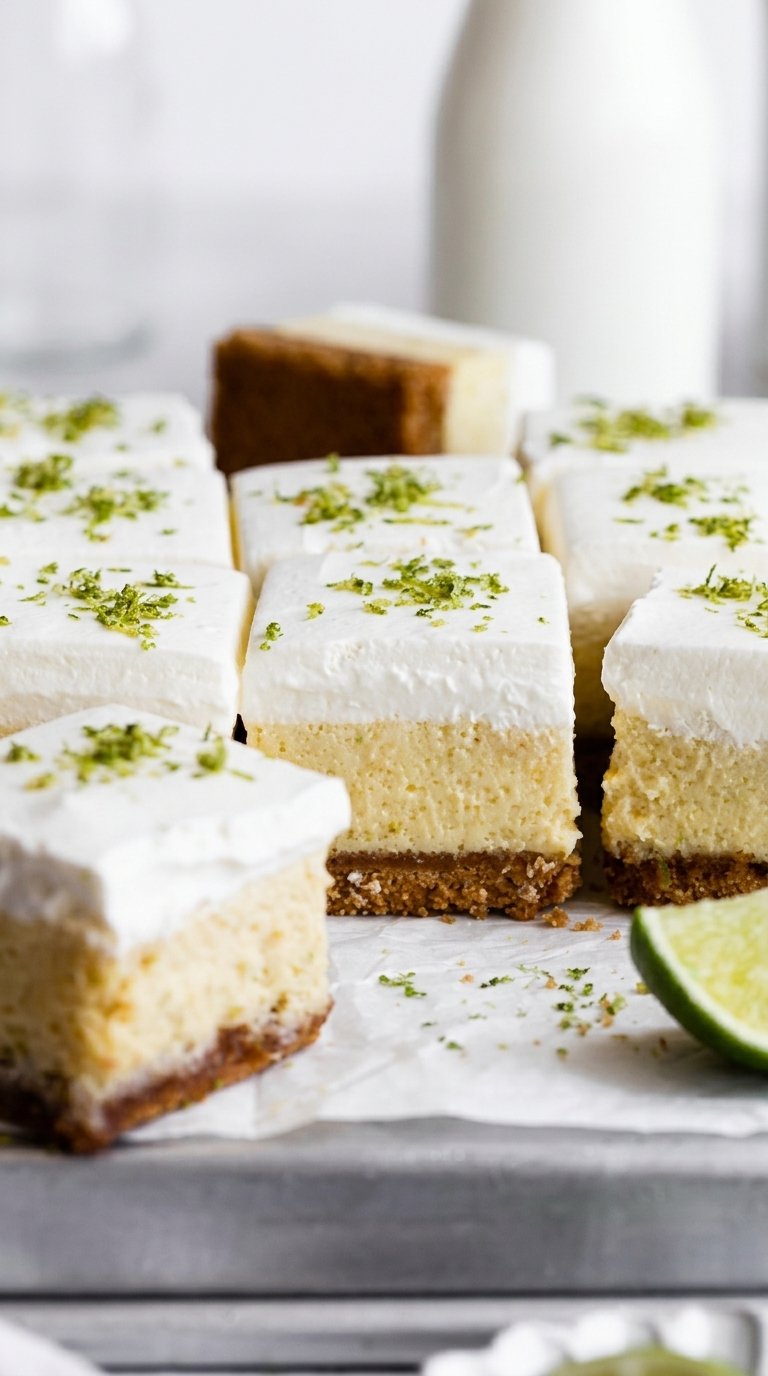
I'll be honest — pie crust has never been my strong suit. There's something about rolling and crimping and hoping it doesn't shrink in the oven that makes me want to reach for literally any other dessert format. So when I stumbled onto the idea of turning key lime pie into a bar, I knew I'd found my summer dessert forever.
These bars give you everything you love about a classic key lime pie — that bright, tart filling, the buttery crumb crust, a cloud of whipped cream on top — but in a form that's genuinely foolproof. No lattice, no blind baking, no crust that cracks the second you slice it. Just press, pour, bake, and chill.
They're the kind of dessert that disappears fast at a backyard barbecue or a potluck table. Cool, creamy, tangy, and just sweet enough, these bars taste like sunshine in square form. If you've been intimidated by pie-making in the past, this recipe is your sign to finally get your key lime fix without any of the fuss.
Why You'll Love This Recipe
These bars earn their spot in your summer dessert rotation for a few good reasons:
- No pie crust skills required — just a food processor and a pan
- Three simple layers: crunchy crust, tangy filling, fluffy whipped cream
- Perfect make-ahead dessert for parties and potlucks
- Easy to slice and serve — no fork required
- That classic tart-sweet key lime flavor in every bite
Ingredient Notes
The crust here swaps the usual graham crackers for crushed vanilla wafer cookies, which bring a slightly sweeter, more delicate crumb that pairs beautifully with the tart filling. A touch of brown sugar in the crust adds just a hint of caramel warmth.
For the filling, real key limes give the most authentic floral, tangy flavor, but they can be tough to track down and even harder to juice in bulk. Regular limes work perfectly well as a substitute — you'll just want to stock up, since it takes quite a few to get a full cup of juice. Whatever you do, skip the bottled stuff if you can; fresh juice makes a noticeable difference here.
Egg yolks and sweetened condensed milk do the heavy lifting in the filling, giving it that dense, custardy texture that sets up beautifully in the fridge.
The Recipe
Prep Time: 25 minutes | Cook Time: 30 minutes | Total Time: 55 minutes plus chilling | Yield: 16 squares
Ingredients
Cookie Crust
- 2 cups vanilla wafer cookies, finely ground (about 250g)
- 5 tablespoons unsalted butter, melted
- 2 tablespoons light brown sugar
Key Lime Filling
- 1 tablespoon lime zest, packed (from about 6-7 key limes)
- 5 large egg yolks
- 22 ounces sweetened condensed milk (one 14-ounce can plus 3/4 cup from a second can)
- 1 cup freshly squeezed lime juice
Whipped Cream Topping
- 1 cup heavy whipping cream
- 2 tablespoons powdered sugar
Directions
- Preheat the oven to 350°F. Line an 8x8 inch pan with parchment paper, letting the edges hang over the sides for easy removal later.
- Pulse the vanilla wafers in a food processor until they form fine crumbs. Stir the crumbs together with the melted butter and brown sugar in a medium bowl until the mixture looks like wet sand.
- Press the crumb mixture evenly into the bottom of the prepared pan. Bake for 13 to 15 minutes, then set aside to cool for about 30 minutes.
- In a large bowl, beat the egg yolks and lime zest with a hand mixer on medium speed for 4-5 minutes, until the mixture lightens in color and thickens.
- Add the sweetened condensed milk and continue beating on medium for another 3 minutes, then whisk in the lime juice until smooth.
- Pour the filling over the cooled crust. Bake for 15-17 minutes, until the edges are set but the center still jiggles slightly as a whole. Cool on the counter for 30 minutes, then refrigerate for at least 3 hours or overnight.
- Once fully chilled, beat the heavy cream and powdered sugar together until firm peaks form. Finish mixing by hand with a whisk to avoid overmixing.
- Spread the whipped cream evenly over the chilled filling. Use the parchment overhang to lift the bars out of the pan, then slice into squares with a clean, warm knife.
Tips for Success
- Use fresh lime juice rather than bottled for the brightest flavor
- Keep everything cold while assembling for the cleanest slices later
- Clean your knife with warm water between cuts for picture-perfect squares
- Chill the bars overnight if you can — they slice much more cleanly the next day
- Store leftovers tightly covered in the fridge for up to 4 days
Frequently Asked Questions
Do I have to use key limes?
Not at all. Key lime juice has a slightly more floral, aromatic quality, but regular limes work just as well. You'll just need more of them to reach a full cup of juice.
Can these bars be frozen?
The bars freeze well, but it's best to freeze them before adding the whipped cream topping, since the texture of the cream can get a little strange after thawing.
Can I make these ahead of time?
Yes, and honestly it's recommended — chilling overnight gives the filling time to fully set and makes for much cleaner slices.
What kind of vanilla wafer cookies should I use?
Classic round vanilla wafer cookies work best here, rather than the rectangular style, since they grind down into a finer, more even crumb.
How long do these bars last in the fridge?
Stored tightly covered, they'll keep well in the refrigerator for up to 4 days.
Give these key lime pie bars a try and let me know how they turn out for you in the comments — I'd love to hear what you think, and don't forget to leave a rating!